
Braising is a cooking method that turns tough cuts of meat into rich, tender dishes using time, moisture, and controlled heat. When done correctly, the meat softens naturally, absorbs flavor from the cooking liquid, and finishes with a sauce built from the same pot. This guide explains braising step by step, so each decision makes sense and nothing feels assumed.
What Braising Is And Why It Works
Braising combines two techniques: browning meat with direct heat, then cooking it slowly with a small amount of liquid in a covered pot. The first stage builds surface flavor. The second stage allows time and moisture to transform the meat internally.
Tough cuts contain collagen. When cooked slowly at a steady temperature, collagen melts into gelatin. This process creates meat that becomes tender and moist rather than dry.
Braising is not boiling. The meat should sit partially above the liquid, and the liquid should remain at a gentle simmer throughout cooking.
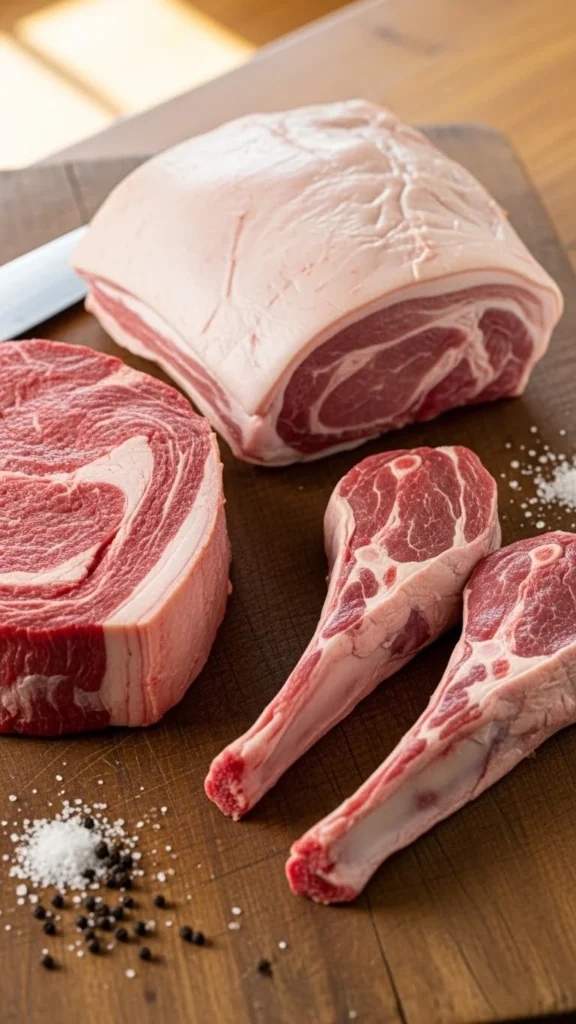
Choosing The Right Cut Of Meat
Braising works best with cuts taken from muscles that do a lot of work. These cuts are firm when raw and contain connective tissue that needs time to break down.
Good braising cuts include:
- Beef chuck roast
- Beef brisket
- Beef short ribs
- Pork shoulder
- Lamb shanks
Lean cuts such as tenderloin or pork loin are not suitable. They lack collagen and will dry out before becoming tender.
Preparing The Meat Before Cooking
Before the meat ever touches the heat, preparation matters.
Trim off thick, hard pieces of surface fat, but leave a thin layer intact. This protects the meat during long cooking and contributes flavor to the final sauce.
Season the meat generously with salt on all sides. Salt at this stage penetrates the surface and builds flavor as the meat cooks. Pepper can be added now or later, depending on preference.
Let the meat rest at room temperature for about 20 minutes before cooking. This helps it brown evenly instead of steaming.
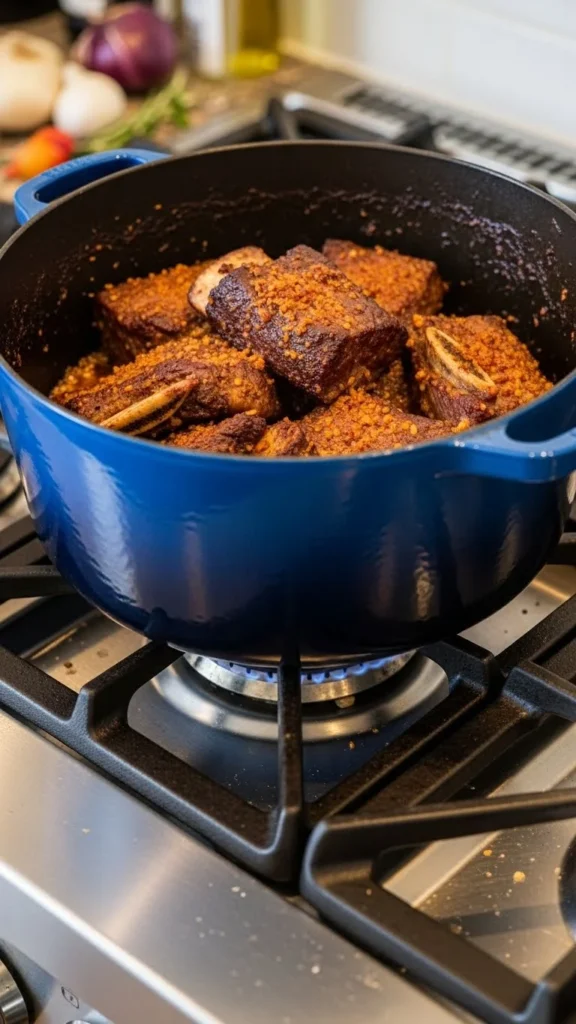
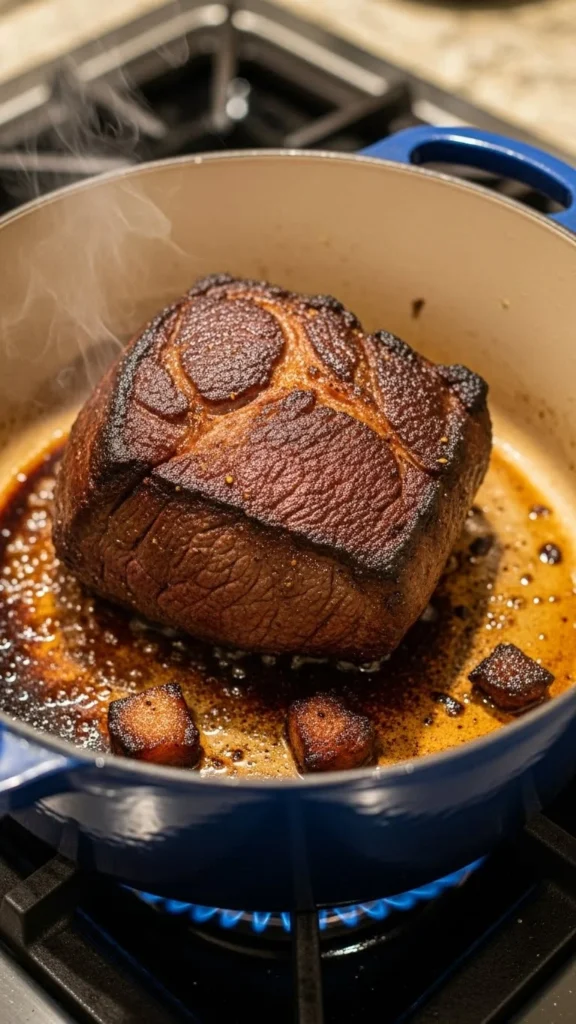
Searing The Meat For Flavor
Searing is essential for developing depth. It creates browning on the surface and leaves caramelized bits, called fond, stuck to the pot.
Heat a heavy pot such as a Dutch oven over medium-high heat. Add a small amount of oil and wait until it shimmers. Place the meat in the pot without crowding. Do not move it for several minutes. Once a deep brown crust forms, turn and repeat on all sides.
Remove the meat and set it aside. Do not discard the browned bits in the pot.
Building The Flavor Base In The Pot
Lower the heat slightly and add chopped onions, carrots, and celery directly into the same pot. These vegetables release moisture and help loosen the fond from the bottom.
Stir occasionally and allow the vegetables to soften and lightly brown. Add garlic near the end so it does not burn.
This mixture forms the base of the braising liquid and adds sweetness and complexity.
Deglazing And Creating The Braising Liquid
Pour wine, broth, or another cooking liquid into the hot pot. Use a spoon to scrape the bottom thoroughly and dissolve all the browned bits.
Let the liquid simmer briefly to reduce slightly. This step captures concentrated flavor and prevents the final sauce from tasting flat.
Return the meat to the pot once deglazing is complete.
Adding Liquid Correctly
The liquid should come about one third to three quarters of the way up the meat. The top of the meat should remain exposed.
Too much liquid turns braising into boiling. Too little can cause scorching.
Common liquid choices include:
- Beef or chicken broth
- Wine combined with broth
- Tomatoes diluted with stock
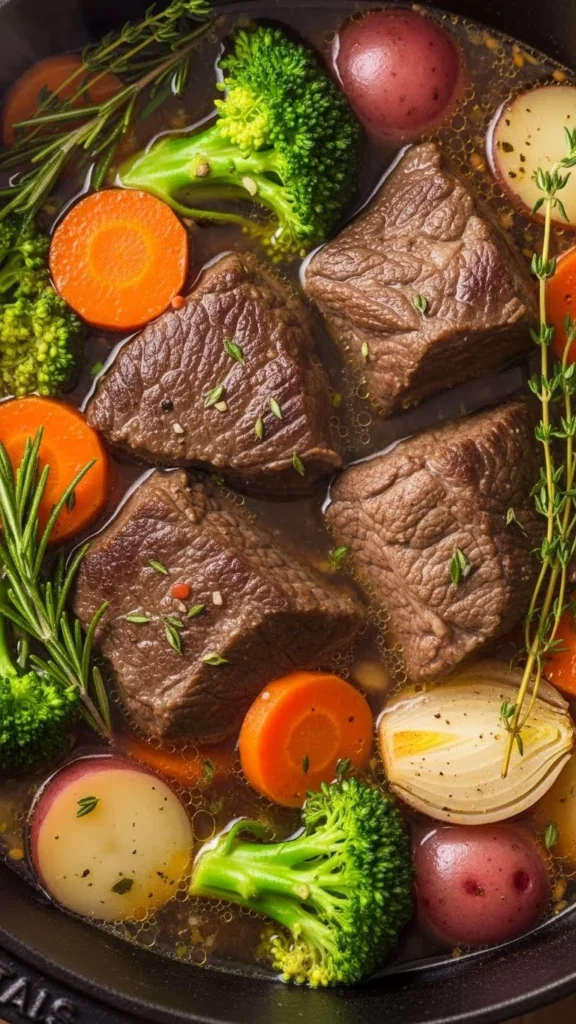
Seasoning And Herbs During Braising
Add sturdy herbs such as thyme, rosemary, bay leaves, and peppercorns at this stage. These herbs release flavor slowly and hold up well during long cooking. Avoid sugar-heavy sauces or glazes early. Sugar can burn during searing and create bitterness.
Cooking Low And Slow
Cover the pot and place it in an oven set between 300°F and 325°F. Oven braising provides even heat and reduces the risk of burning.
Most braises take between 2 and 3 hours, depending on the cut and size. Larger pieces may take longer.
Check occasionally to ensure the liquid is gently simmering. Add small amounts of hot liquid if the level drops too low.
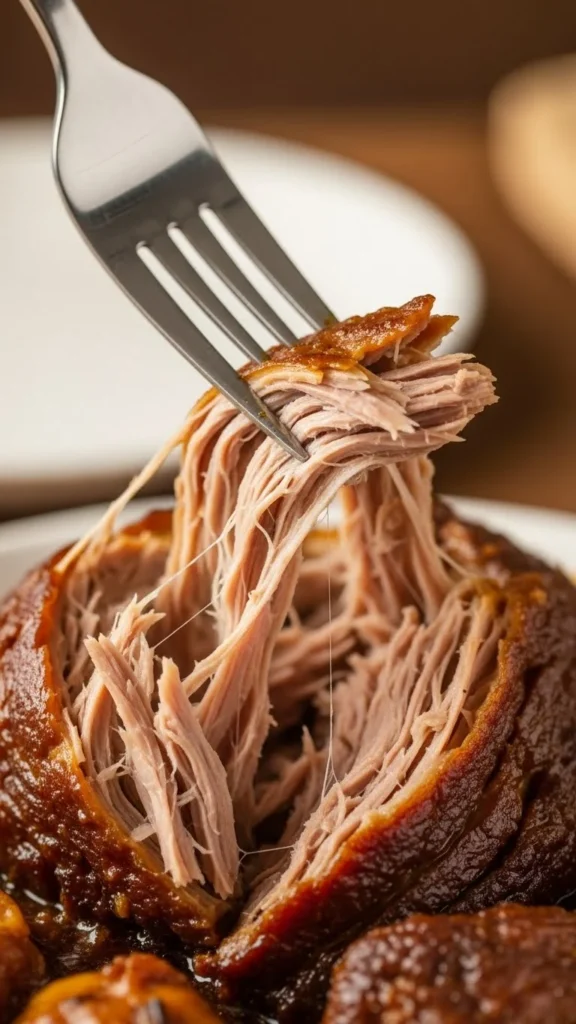
Knowing When The Meat Is Ready
The meat is done when a fork slides in easily and the meat begins to pull apart without resistance. If the meat still feels firm, it needs more time. Toughness means the collagen has not fully broken down yet.
Resting The Meat And Finishing The Sauce
Remove the pot from the oven and let the meat rest in the liquid for at least 20 minutes. This allows the fibers to relax and reabsorb moisture.
If shredding the meat, let it cool slightly before pulling it apart.
Remove the meat and simmer the cooking liquid to reduce and thicken naturally. Taste and adjust seasoning only at the end, since reduction concentrates salt.
Common Braising Problems And Fixes
If the meat is dry, the cut may have been too lean or the liquid too low. Choose tougher cuts and monitor liquid levels.
If the meat is tough, it has not cooked long enough. Continue cooking until it softens fully.
If the sauce tastes flat, reduce it further or add a small amount of acid such as vinegar or wine to brighten the flavor.
Matching Braising Flavors To Different Cuisines
Braising technique stays the same, but seasoning changes everything.
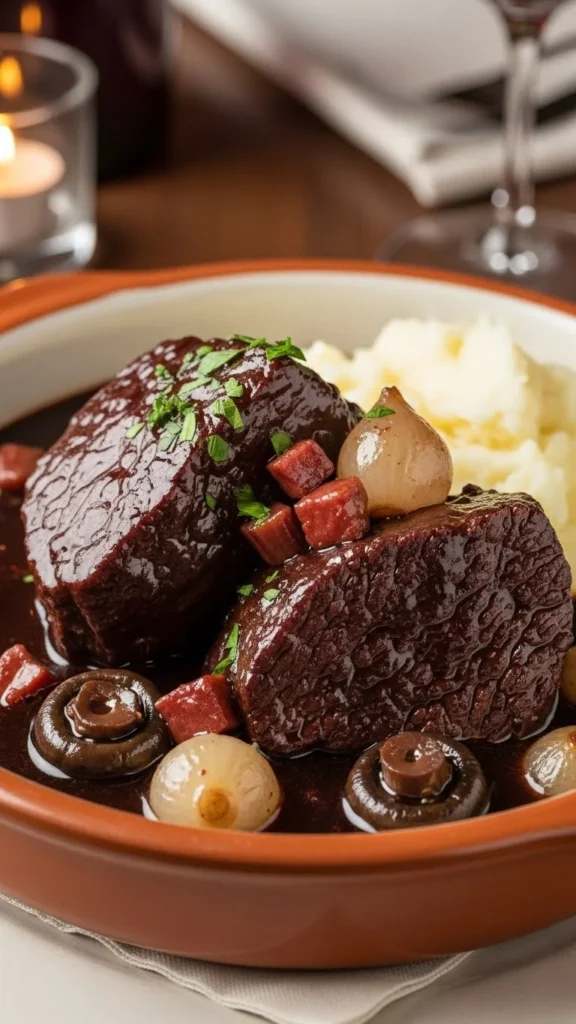
For French-style braises, use beef or lamb with red wine, thyme, bay leaf, onions, and carrots. Finish with butter. For Italian-style braises, add tomatoes, garlic, rosemary, olive oil, and wine.
In Asian-inspired braises, use pork or beef with soy sauce, ginger, garlic, star anise, and add sugar only after searing. If you are making Middle Eastern style braises, use lamb with cumin, coriander, cinnamon, onions, tomatoes, and finish with lemon.
Final Thoughts
Braising is not about speed or shortcuts. It is about understanding heat, time, and moisture. Once the structure is clear, the method becomes reliable and flexible.
Master the process once, and it can be applied to many cuts, cuisines, and meals with consistent results.

Leave a Reply