If your grilled vegetables taste plain instead of smoky, the problem is not your ingredients. It is your setup.
Smoke flavor does not come from heat alone. It comes from controlled smoke, correct oil usage, and proper heat zones. Once you get these three right, the result changes immediately.
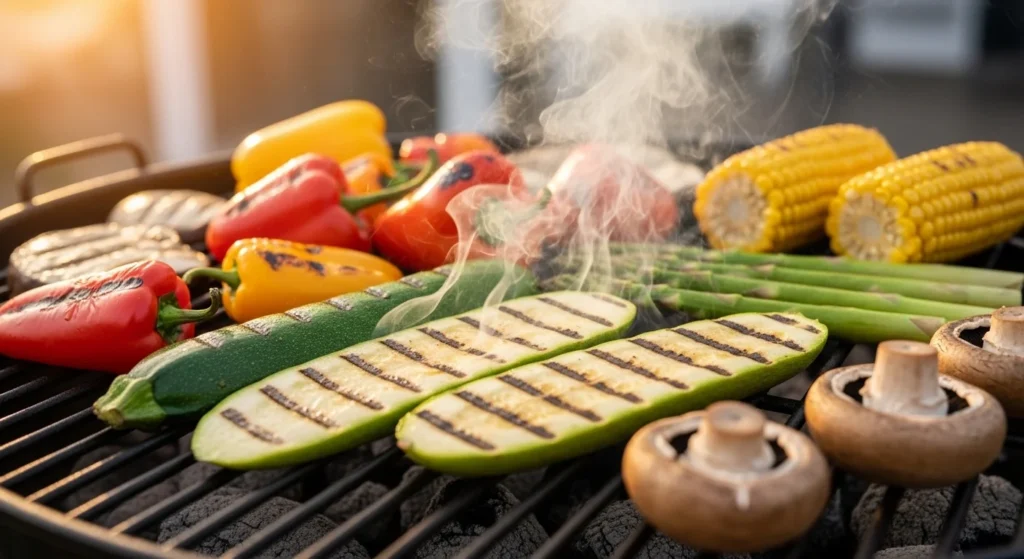
Set Up the Grill for Actual Smoke
Start here, because without smoke, nothing else matters.
If you are using charcoal, let the coals burn until they are hot and slightly ashy. That is when they produce steady heat and light smoke, not aggressive flames.
If you are using a gas grill, you need to create smoke manually
- Take a handful of wood chips
- Soak them in water for about 20 minutes
- Wrap them in foil and poke small holes
- Place this packet directly over the flame
Wait 3 to 5 minutes. You should start seeing smoke. Only then add vegetables.
Without this step, you are just roasting vegetables on a grill.
Prep Vegetables the Right Way
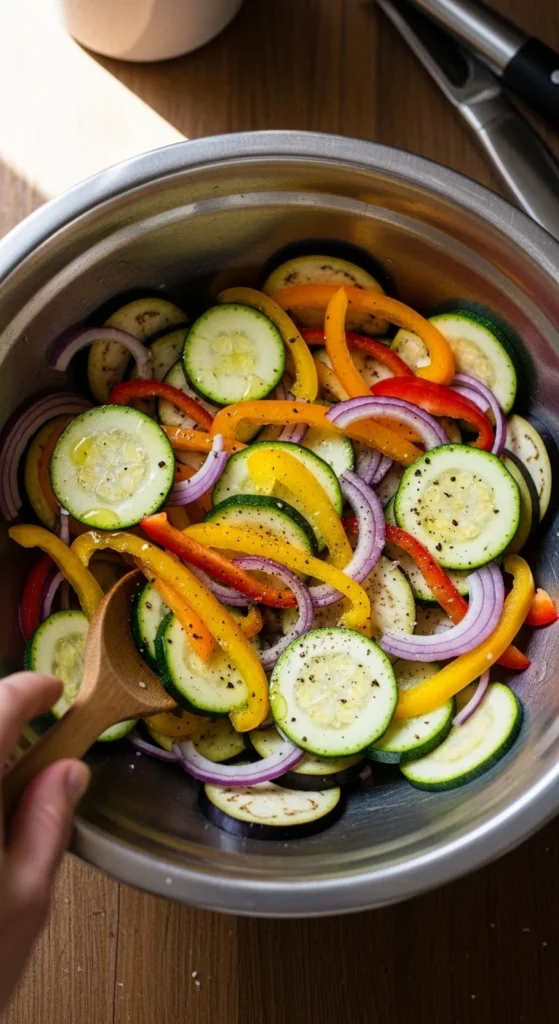
Bad prep is one of the biggest reasons vegetables don’t taste right.
Cut vegetables into medium, even pieces. Too thin and they burn before absorbing flavor. Too thick and they stay raw inside.
Now coat them lightly with oil. Not dripping, just a thin layer.
Then season simply
- Salt
- Black pepper
- Optional garlic powder
Avoid heavy marinades at this stage. Too much moisture blocks smoke from sticking.
Use Marinade Only When It Helps
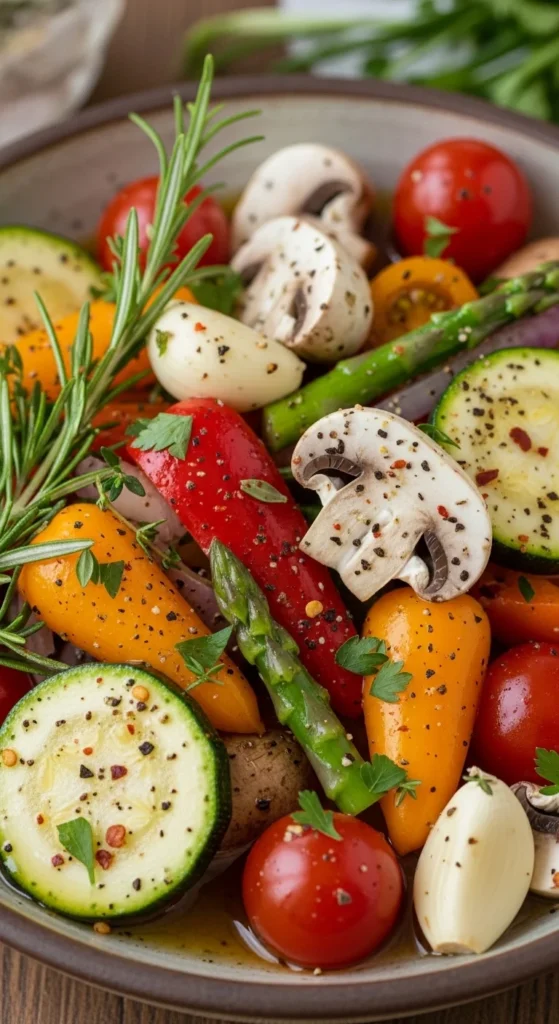
If you want deeper flavor, use a light marinade, not a wet one.
A practical mix that works
- 2 tablespoons oil
- 1 teaspoon smoked paprika
- 2 cloves garlic
- 1 teaspoon lemon juice
Toss vegetables and let them sit for 20 to 30 minutes.
This adds flavor without making them soggy. It also helps them stay juicy during grilling.
Cook With Two Heat Zones
This is where most people mess up. Do not cook everything on high heat.
Set your grill like this
- One side high heat
- One side low or indirect heat
Now cook based on the vegetable.
Use high heat for
- Zucchini
- Bell peppers
- Asparagus
Move to low heat for
- Potatoes
- Onions
- Eggplant
Start on high heat to get grill marks, then shift to low heat to finish cooking.
This prevents burning outside while keeping the inside properly cooked.
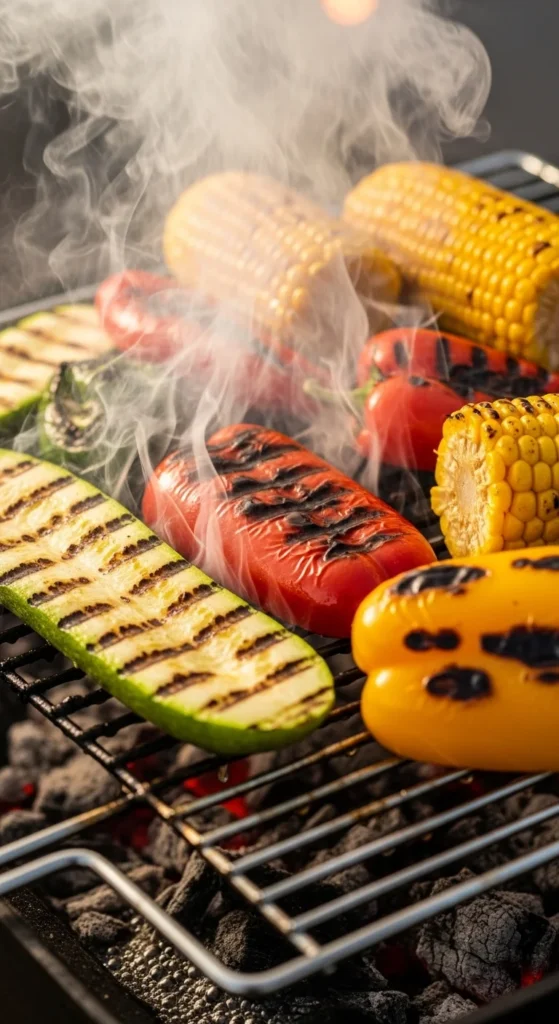
Keep the Lid Closed
After placing vegetables, close the lid.
This traps smoke inside and allows it to settle into the vegetables. If you keep opening the grill, the smoke escapes and flavor drops.
Open only when you need to flip.
Flip Less, Not More
Constant flipping stops proper charring.
Place vegetables and let them sit for 2 to 4 minutes before turning. This allows grill marks and smoky flavor to develop.
Once flipped, give them another few minutes without disturbing them.
Know When to Remove

You are not trying to burn vegetables.
Look for these signs
- Light grill marks, not black
- Edges slightly crisp
- Inside soft but not mushy
Most vegetables are done within 6 to 12 minutes depending on size.
Remove them slightly early because they continue cooking after coming off the grill.
Common Problems and Fixes
No smoky flavor
This happens when there is no smoke source. Always add wood chips or use charcoal. Heat alone will never create that flavor.
Burnt outside, raw inside
High heat throughout causes this. Start on high heat, then move to indirect heat to finish cooking properly.
Vegetables sticking to grill
This means the grill was not preheated or oil was too little. Always heat the grill first and coat vegetables lightly with oil.
Vegetables turning soggy
Too much marinade or oil causes steaming instead of grilling. Keep coatings light so smoke and heat can work properly.
Bitter taste
Over-charring creates bitterness. Remove vegetables once they reach light char and tender texture instead of leaving them too long.
Final Thoughts
Grilling vegetables with real smoky flavor is less about complicated recipes and more about doing a few key things correctly.
Once you start paying attention to how smoke is created and how heat is managed, the results become noticeably better without adding extra effort.
From there, it’s just practice and small adjustments based on what you’re cooking.