
A proper pan-sear gives you a deep golden crust outside and juicy meat inside. That crust is not luck. It comes from heat, dryness, and timing.
When you understand what your pan and meat are doing, pan-searing becomes predictable. Whether you are learning how to cook the best steak, a T-bone steak, or any fresh beef steak cooking method, the principles are the same.

Start With Dry, Well-Prepared Meat
Moisture is the enemy of browning. If the surface is wet, the meat steams instead of sears. Before anything touches the pan:
- Pat meat very dry with paper towels
- Trim excess surface moisture
- Let meat sit out 20–30 minutes so it is not fridge-cold
This step alone improves the crust more than fancy seasoning.
Salt also helps here. Salting 30–60 minutes ahead acts like a light dry brine. It pulls out moisture, then reabsorbs it with better flavor.
Use The Right Pan
Thin pans lose heat fast and give a weak crust. Heavy pans hold heat and drive browning. Best choices:
- Cast iron
- Heavy stainless steel
Cast iron is popular for a reason. It stores heat and keeps temperature steady when meat hits the pan. Avoid nonstick for serious searing. They do not tolerate the heat needed for a golden crust.
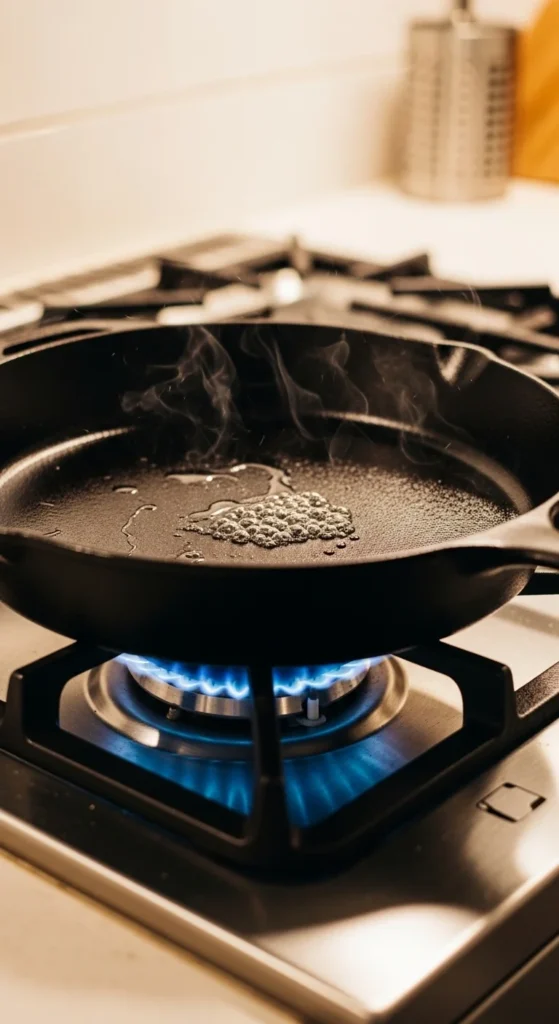
Preheat Longer Than You Think
A lukewarm pan gives gray meat. A hot pan gives a crust. Preheat your pan:
- At least 5 minutes
- On medium-high or high heat
- Until a drop of water sizzles instantly
That water-sizzle test is simple and reliable.
Good crust depends on the Maillard reaction, which kicks in around 284°F and gets stronger above 300°F. If your pan never reaches that range, browning stays weak.
Choose The Right Oil
Oil prevents sticking and helps heat transfer. But the wrong oil burns and tastes bitter. Good high-smoke-point oils:
- Avocado oil
- Canola oil
- Vegetable oil
Use a thin layer, not a pool. The pan should shimmer, not smoke heavily.
Avoid extra virgin olive oil for high-heat searing. Its smoke point is too low.
Sear Without Moving The Meat
Once meat hits the pan, let it work. For a 1-inch steak or similar cut:
- Sear 2–4 minutes per side
- Do not move it early
- Flip only when a crust forms naturally
If it sticks, it is not ready yet. A proper crust releases on its own.
Do not press down with a spatula. That pushes out juices and weakens the crust.
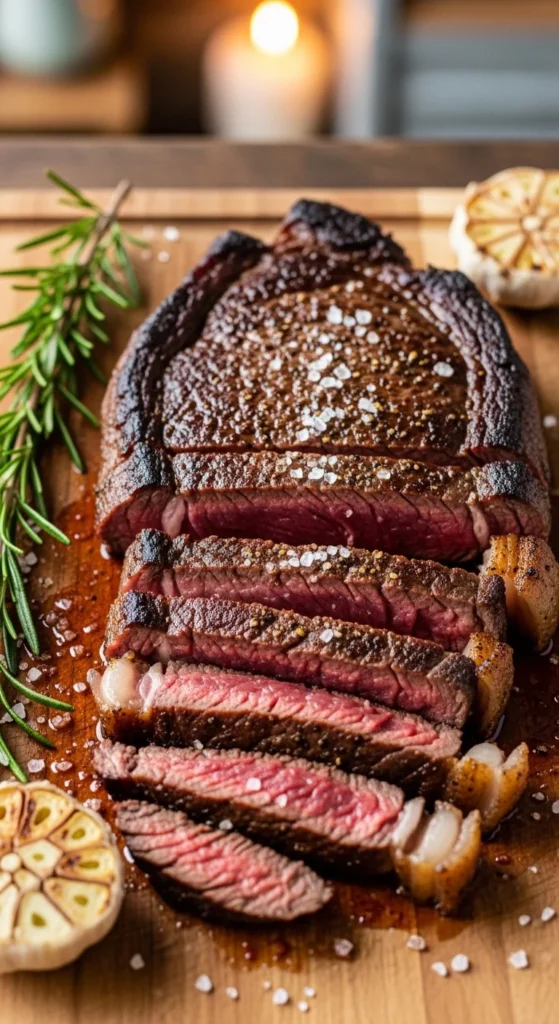
Butter Baste For Extra Flavor
In the final minute, lower heat slightly and add:
- Butter
- Garlic
- Rosemary or thyme
Tilt the pan and spoon the melted butter over the meat. This adds richness and aroma without burning the butter.
This is how many chefs finish a juicy steak recipe on the stove.
Know Your Internal Temperatures
Crust is important, but inside matters too. Common pull temperatures:
- 125°F for medium-rare
- 135°F for medium
- 145°F for medium-well
Pull meat about 5°F before your target. It continues cooking while resting.
A thermometer removes guesswork from how to make the best steak.
Rest Before Cutting
Cutting too soon wastes juices. Rest meat:
- 5–10 minutes
- On a plate or rack
- Loosely tented with foil
This keeps your steak juicy instead of dry.
Common Problems And Fixes
Even good cooks hit these issues.
Gray meat, no crust
The pan was not hot enough. Preheat longer and dry the meat better.
Burnt outside, overcooked inside
Heat too high for thickness. Try medium heat or reverse sear for thick cuts.
Meat sticks and tears
You flipped too early. Let the crust form fully.
Bitter flavor
Oil burned. Use higher smoke-point oil.
These fixes apply whether you are learning steak, how to cook basics or T-bone steak cooking tips.
When To Use Reverse Sear
For thick steaks over 1–1.5 inches, reverse sear works great. Basic idea:
- Cook slowly in oven first
- Finish with hot pan sear
This gives even doneness and a strong crust. Many people use this for how to cook a T-bone steak or ribeye.
Final Thoughts
Great searing is about control, not guessing. Dry meat, hot pan, proper oil, and patience do most of the work.
Once you practice a few times, you will feel when the pan is ready and see when the crust forms. That confidence is what turns fresh beef steak cooking into something easy and repeatable.
Try it once, adjust slowly, and your results improve every time.

Leave a Reply