A properly seasoned cast iron skillet develops a smooth, natural nonstick surface that improves every time you cook. The process works because oil bonds to the metal at high heat, forming a hardened layer that protects the iron and prevents food from sticking. When done correctly, seasoning turns a simple skillet into one of the most reliable pieces of cookware in the kitchen.
Many new pans come pre-seasoned, especially from brands like Lodge, but adding your own layers strengthens durability and cooking performance. With the right oil, heat, and technique, you can build a strong seasoning layer that lasts for years.
Understand the Science Behind Cast Iron Seasoning
Seasoning works through a process called polymerization. When oil is heated past its smoke point, it breaks down and bonds with the iron surface, forming a thin, durable coating.
This coating protects the metal from rust and gradually becomes smoother with repeated use.
Key things that make seasoning work properly:
- Oil must be applied in a very thin layer.
- The oil must be heated past its smoke point to harden properly.
- Repeating the process builds a stronger nonstick finish.
If too much oil is applied, the surface becomes sticky instead of smooth. The pan should look almost dry before going into the oven.
Step 1: Clean and Fully Dry the Pan
Before seasoning, the skillet must be completely clean and dry. Any moisture left on the surface can cause rust or interfere with oil bonding.
Follow this preparation routine:
- Wash the skillet with warm water and mild soap.
- Scrub away residue or rust if needed.
- Dry the pan with a towel.
- Place it on the stove over low heat for a few minutes to remove hidden moisture.
Heating the pan slightly also helps the oil spread more evenly in the next step.
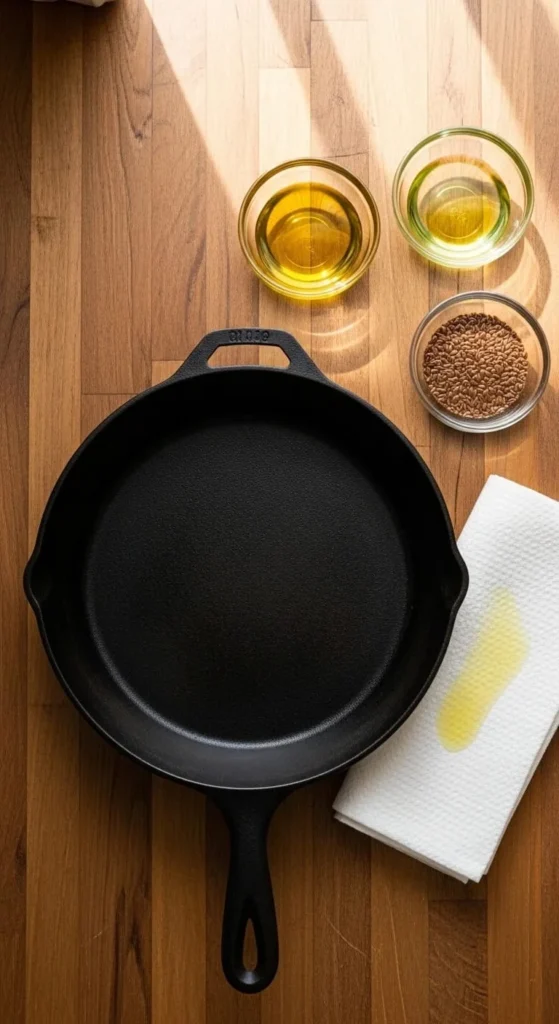
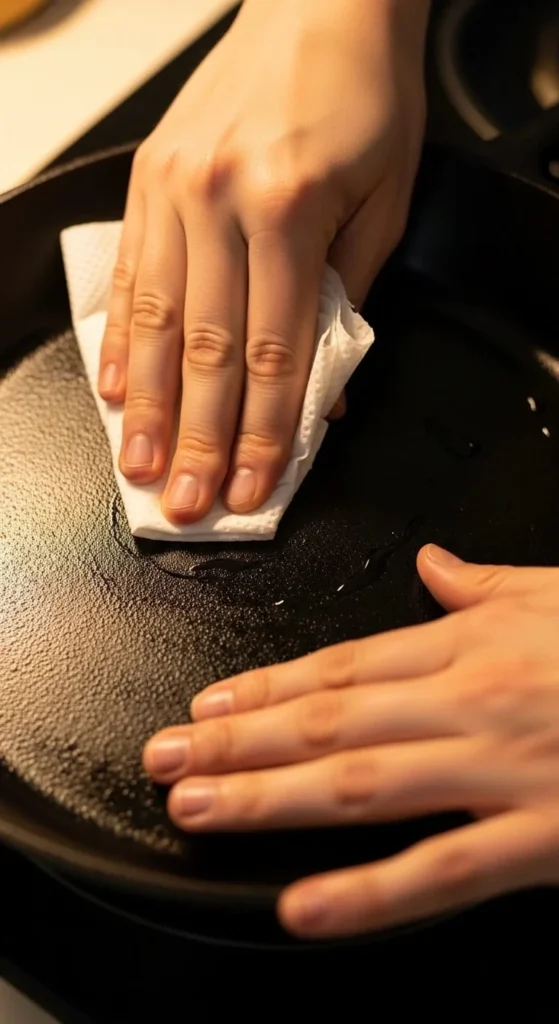
Step 2: Apply a Very Thin Layer of Oil
The most important rule of cast iron seasoning is using less oil than you think.
A thick layer causes gummy buildup, while a thin layer creates a strong protective coating.
Good oils for seasoning include:
- Grapeseed oil
- Avocado oil
- Flaxseed oil
- Soybean oil
Avoid oils with low smoke points like butter or olive oil because they burn too quickly.
To apply oil correctly:
- Pour a small amount onto a paper towel.
- Rub it across the entire skillet including the handle.
- Wipe the pan again with a clean towel until it looks nearly dry.

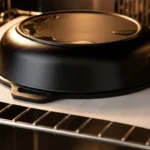
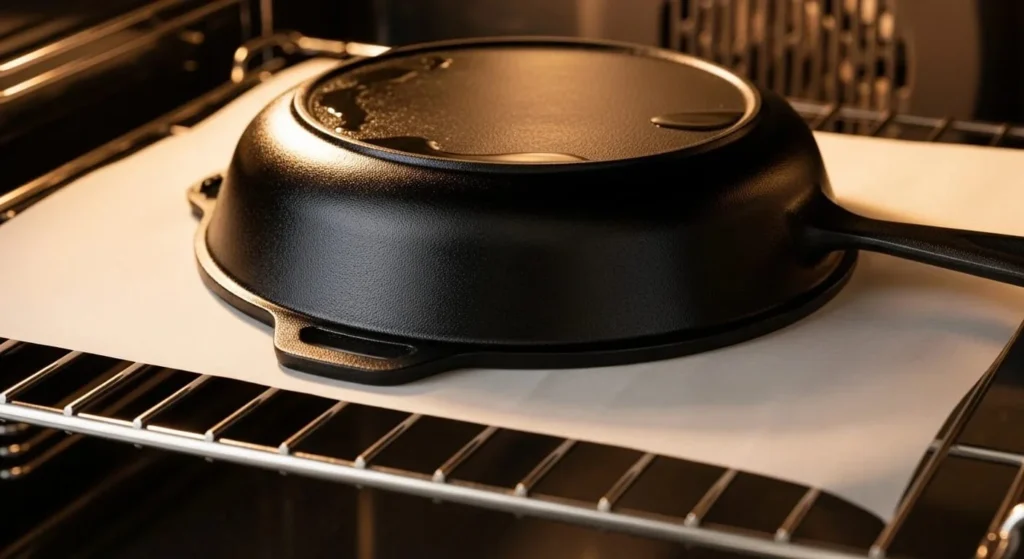
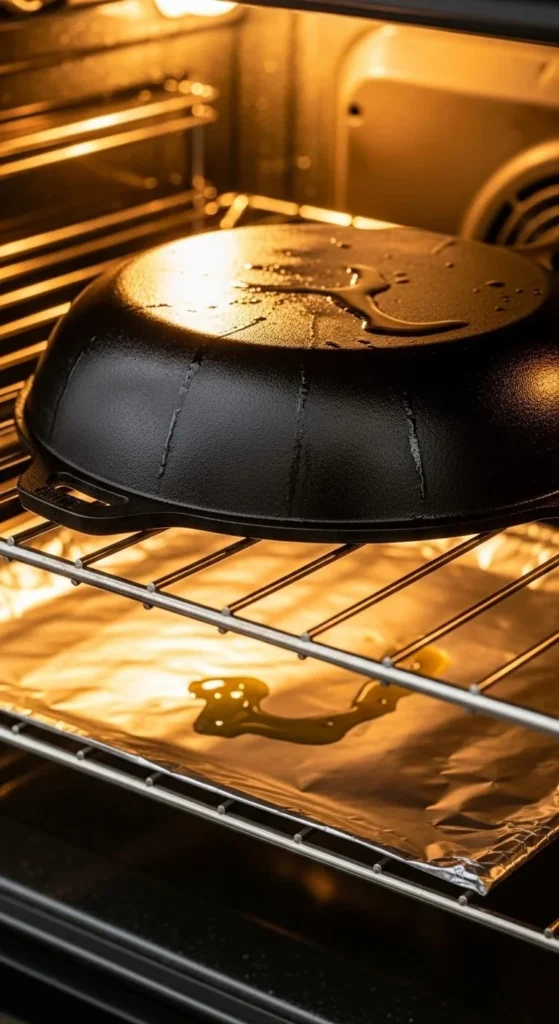
Step 3: Bake the Skillet Upside Down
Baking upside down prevents oil from pooling inside the pan and creates an even seasoning layer.
Place the skillet on the upper oven rack and line the lower rack with foil to catch drips.
Seasoning process:
- Preheat the oven to 450°F to 500°F.
- Place the skillet upside down in the oven.
- Bake for one hour.
- Turn the oven off and allow the skillet to cool inside the oven.
Cooling slowly allows the seasoning layer to bond more effectively with the iron.
Step 4: Repeat Layers for a Stronger Nonstick Finish
One layer of seasoning helps, but several layers create a stronger and smoother cooking surface.
For best results:
- Repeat the seasoning process two to six times.
- Each layer should be extremely thin.
- Allow the skillet to cool between coats.
With each round, the surface becomes darker and more durable.
This is how older cast iron pans develop their famous naturally nonstick finish.
Choose the Right Oil for Seasoning
Not all oils perform equally when heated for seasoning.
High smoke point oils create stronger coatings because they polymerize more effectively.
Popular choices include:
- Grapeseed oil which balances durability and affordability.
- Avocado oil which handles very high heat.
- Flaxseed oil which forms extremely hard polymer layers.
The most important factor is still applying the oil in a thin layer.
Maintenance Cooking Strengthens Seasoning
Seasoning is not a one time task. Regular cooking continues to strengthen the coating.
Foods that naturally reinforce seasoning include:
- Bacon
- Steak
- Fried potatoes
- Grilled vegetables with oil
Fatty foods gradually build additional protective layers on the pan surface.
Newly seasoned pans should avoid highly acidic foods such as tomatoes until the seasoning becomes stronger.
How to Prevent Rust After Seasoning
Rust usually appears when moisture sits on the surface too long.
After cooking or washing the pan:
- Dry it immediately with a towel.
- Heat the pan briefly on the stove to remove moisture.
- Apply a very light oil coating before storing.
Some cooks place a paper towel inside the skillet to absorb humidity during storage.
Fix Common Seasoning Problems
Seasoning occasionally develops problems, especially during the first few attempts. Common issues and solutions include:
Sticky surface
Too much oil was used. Scrub lightly and repeat seasoning with thinner layers.
Flaking seasoning
Old seasoning layers may be unstable. Scrub the surface and re-season.
Rust spots
Remove rust with steel wool, clean the pan, and repeat the seasoning process.
Cast iron is extremely durable and most problems can be fixed easily.
Final Thoughts
A well-seasoned cast iron skillet becomes more reliable with every use. The secret is simple. Apply very thin layers of oil, heat the pan properly, and repeat the process several times to build a strong coating.
Over time the surface becomes darker, smoother, and naturally nonstick. With consistent care, a cast iron skillet can last generations while performing better than many modern nonstick pans.