Most homemade hummus turns out slightly rough or dense, even when the ingredients are correct. The issue usually comes from how the chickpeas are prepared and how the blending is handled, not the recipe itself.
A truly smooth hummus depends on softness, emulsification, and blending order. When those three are handled correctly, the texture becomes light, spreadable, and consistent from start to finish.

What Actually Makes Hummus Extra Creamy
Three factors control the texture more than anything else:
- Chickpeas must be soft enough to break down completely
- Tahini must emulsify before solids are added
- Liquid must be added gradually to control thickness
If even one of these is skipped, the result feels slightly grainy instead of smooth.
Prepare Chickpeas For A Smooth Base
The texture starts here. If the chickpeas are not soft enough, blending alone will not fix it.
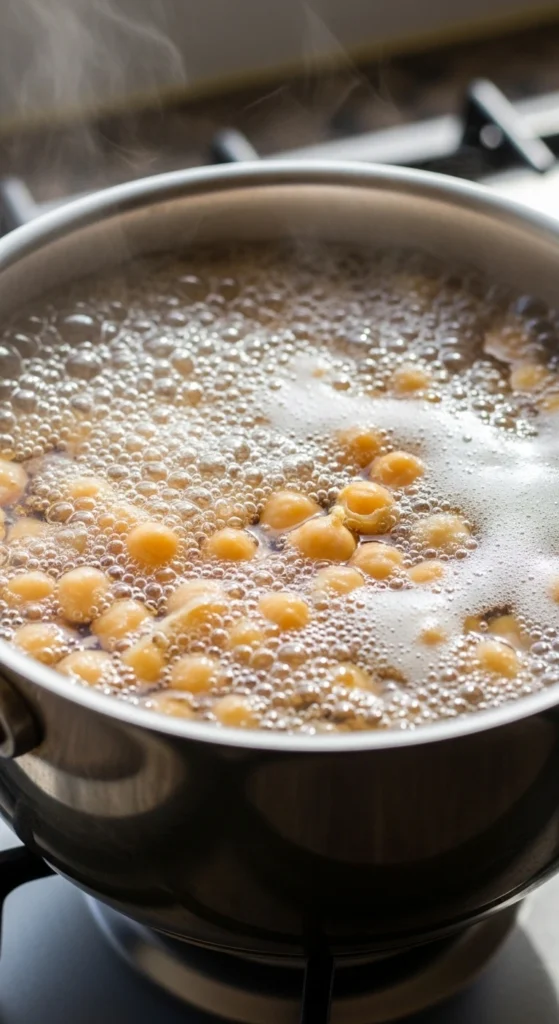
Soften Chickpeas Properly
If using canned chickpeas, boil them for about 15–20 minutes with a small pinch of baking soda. This softens them further and loosens the skins.
If using dried chickpeas, soak overnight and cook until they are very soft, almost falling apart.
Remove The Skins For Better Texture
Once softened, rub the chickpeas gently between your hands in water. The skins will float and can be removed easily.
This step improves the final consistency and removes the slight roughness many people notice in homemade hummus.
Start With Tahini To Build The Creamy Base
Blending everything at once leads to a dense mixture instead of a smooth one.
Blend Tahini With Acid First
Add tahini and lemon juice (or vinegar) to the processor and blend until it becomes lighter in color and slightly thick.
This step creates the emulsified base that gives hummus its creamy structure.
Adjust Consistency Early
If the mixture feels too thick at this stage, add a small amount of cold water and blend again. This helps loosen the base before adding chickpeas.
Add Chickpeas Gradually Instead Of All At Once
Adding everything together makes it harder to achieve a smooth texture.
Add chickpeas in batches while blending. This allows each portion to break down fully before more is added.
Warm chickpeas work better here because they blend more easily and integrate faster with tahini.
Use Ice-Cold Water Or Aquafaba For Texture Control
This step directly affects how light and smooth the hummus becomes.
Ice-Cold Water Method
Add 1–2 tablespoons of ice-cold water during blending. This helps create a whipped, softer texture.
Aquafaba Method
Use a few tablespoons of chickpea liquid instead of water. It helps emulsify the mixture and gives it a slightly airy consistency.
Both methods improve smoothness, especially when combined with longer blending.
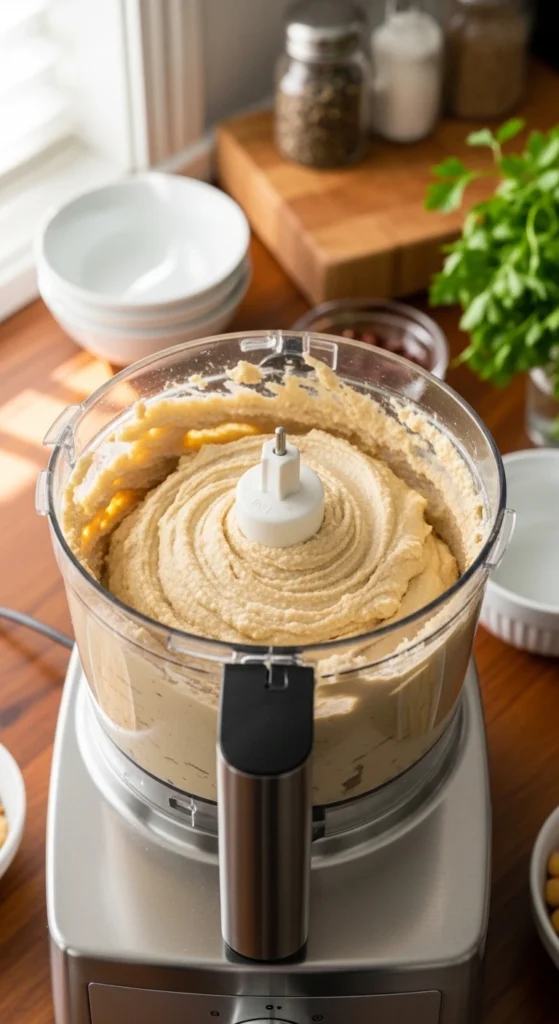
Blend Long Enough For A Smooth Finish
Stopping early is one of the main reasons hummus feels slightly gritty.
Blend continuously for at least 2–4 minutes. Pause to scrape the sides, then continue until the mixture looks completely uniform and glossy.
The texture should feel soft and spread easily without resistance.
Balance Flavor After Texture Is Right
Flavor should be adjusted only after the texture is smooth.
- Add salt gradually and taste
- Add more lemon if the flavor feels heavy
- Add cumin if you want a slightly earthy depth
Making these adjustments after blending keeps the texture stable while improving taste.
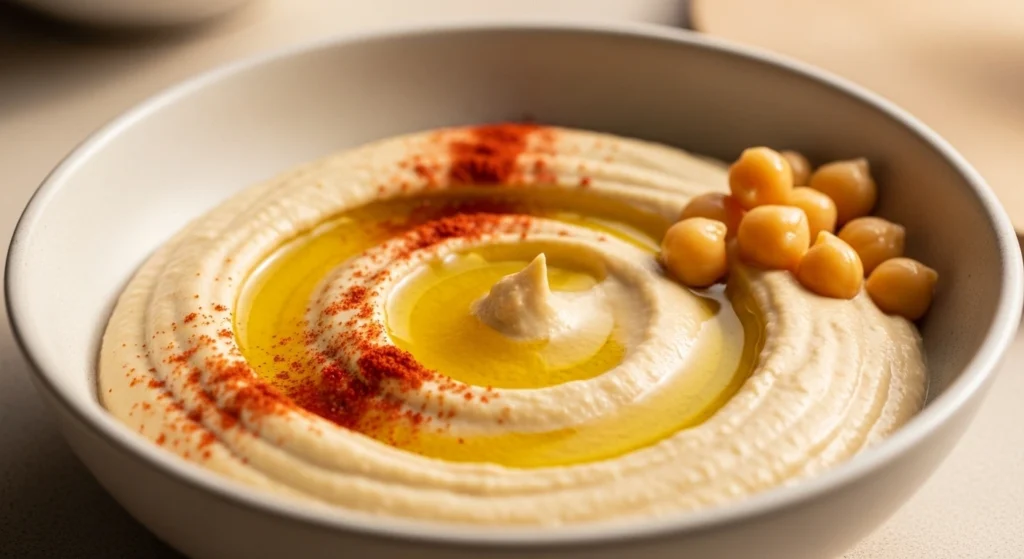
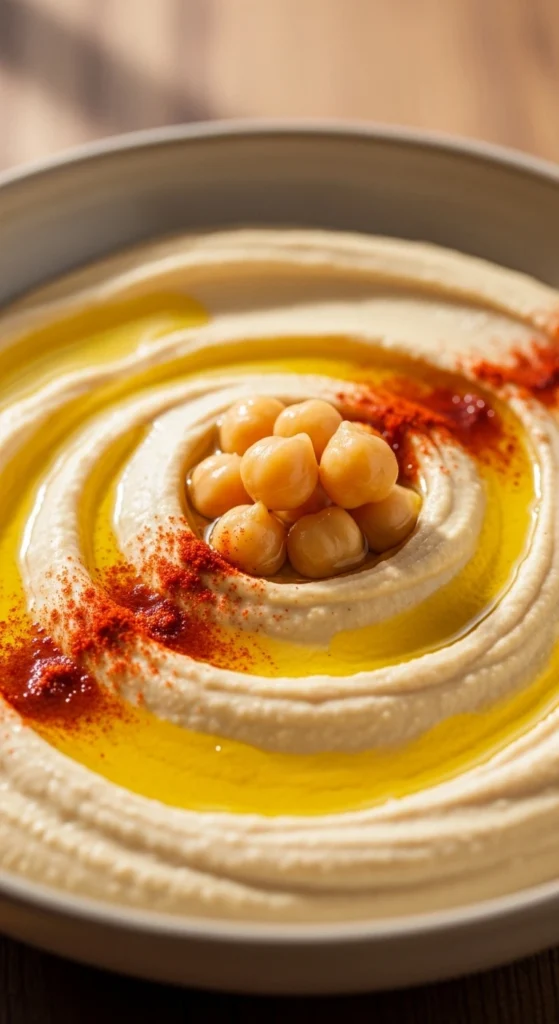
Finish With Olive Oil And Simple Garnish
Transfer the hummus to a bowl and shape it with a spoon.
- Create a smooth swirl on top
- Drizzle olive oil into the center
- Add paprika or whole chickpeas
This improves both presentation and flavor without complicating the recipe.
Why Hummus Turns Grainy And How To Fix It
Texture issues usually come from a few common mistakes.
Chickpeas Not Soft Enough
If they are slightly firm, they will not blend completely. Cooking longer solves this.
Skins Still Attached
Even small amounts of skin create a rough texture. Removing them improves smoothness.
Blending Too Short
Stopping early leaves small particles. Continue blending until fully smooth.
Not Enough Liquid
A dry mixture becomes dense. Add water or aquafaba gradually to fix this.
Storage And Make-Ahead Tips
- Store in an airtight container in the refrigerator for up to 5–7 days
- Add a thin layer of olive oil on top to prevent drying
- Freeze in small portions for up to 3 months
Before serving again, stir and adjust with a small amount of water if needed.
Homemade Hummus Flavors You Can Create From One Base
Once the base is smooth, you can turn it into different hummus flavors without changing the core method.
- Beet hummus is made by blending in roasted or boiled beetroot, which adds natural sweetness and a deep color
- Roasted garlic creates a richer and slightly mellow flavor
- Chili or harissa adds heat and intensity
- Fresh herbs like parsley or cilantro create a lighter version
This approach allows you to create multiple flavored hummus variations while keeping the same creamy texture and simple process.
Final Thoughts
A smooth hummus comes from preparation and blending technique rather than extra ingredients. Soft chickpeas, proper emulsification, and controlled liquid addition all contribute to the final texture.
When these steps are followed carefully, the result is consistent, easy to adjust, and suitable for different flavors without losing its creamy structure.