Cooking at home often feels time-consuming, especially when meals require constant attention and multiple steps. An electric pressure cooker simplifies this process by handling cooking, timing, and heat control in one place. With the right approach, it becomes easier to prepare meals without standing in the kitchen for long periods.
Many people assume it is complicated because of the buttons and pressure system. In reality, once the basic method is clear, the process becomes repetitive and predictable. This makes it a reliable option for preparing everyday meals with less effort and fewer mistakes.
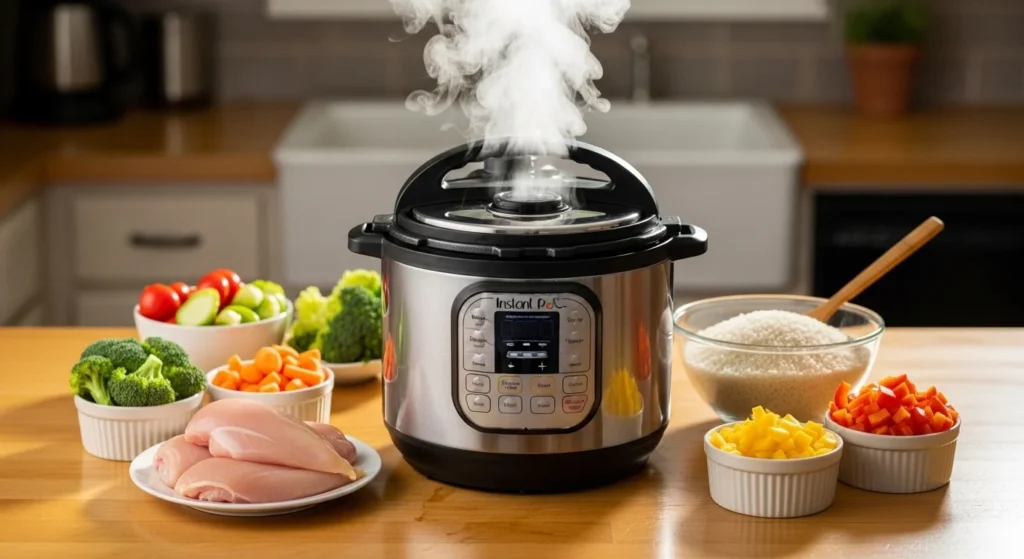
Instant Pot Basics for Beginners
Before cooking anything, a few essential checks ensure everything works correctly. These small steps prevent most common cooking issues.
- Make sure the sealing ring is properly fitted inside the lid
- Set the valve to the sealing position before starting
- Add enough liquid so pressure can build inside
- Avoid filling the pot beyond the recommended limit
Skipping any of these steps can lead to uneven cooking or pressure problems.
What Fast Meals Really Mean
Fast meals do not always mean instant results. The total time includes preparation, pressure build, cooking, and release.
- Preparation usually takes around 10 minutes
- Pressure build can take 10 to 15 minutes depending on quantity
- Cooking time depends on the recipe
- Pressure release may take another 5 to 15 minutes
Understanding this timing helps in planning meals more realistically without confusion.
The Few Functions You Actually Need
Step 1
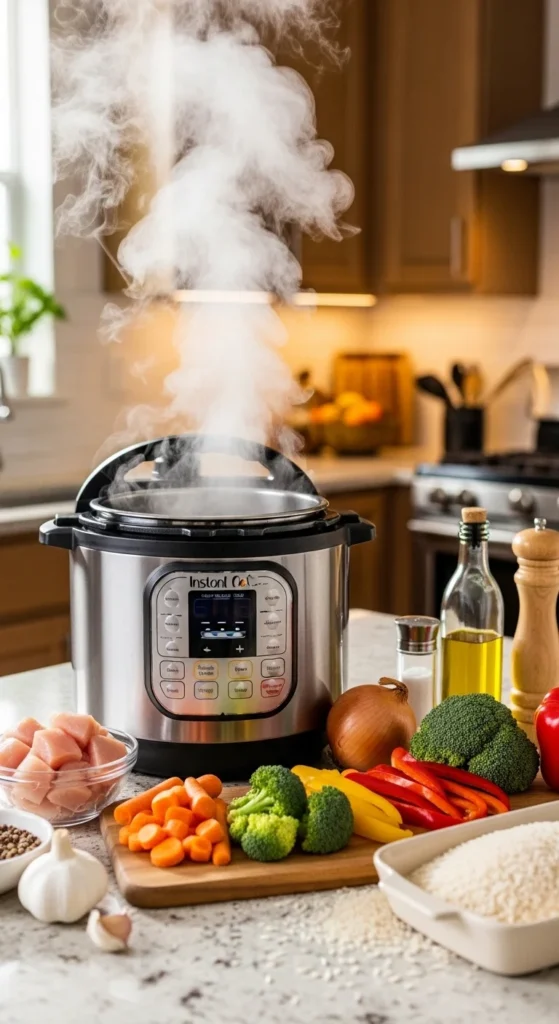
Start by using the sauté function to cook onions, garlic, or spices for a few minutes. This builds a stronger base flavor before pressure cooking begins.
Step 2
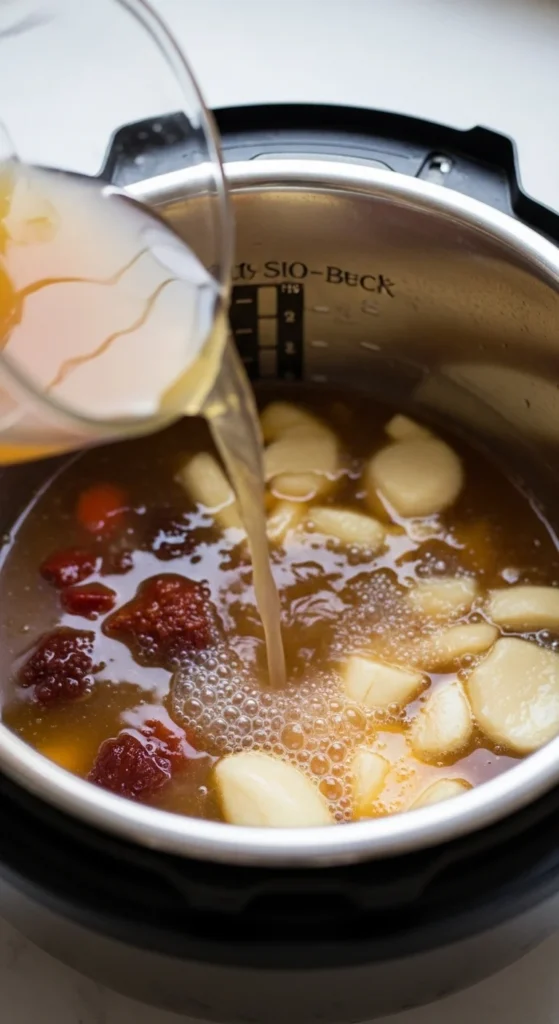
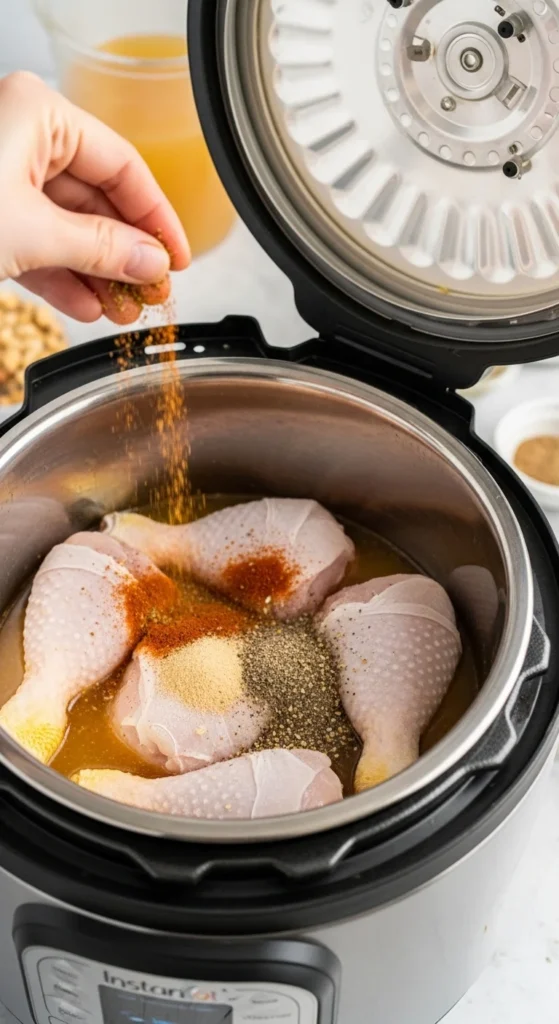
Add liquid and main ingredients such as meat, rice, or lentils. Make sure the bottom is not dry and nothing is stuck from sautéing.
Step 3
Close the lid properly and select the pressure cooking setting. Set the time based on the type of food you are preparing.
Step 4
Allow pressure to release based on the recipe. Once done, open the lid and check texture before serving.
These four steps cover most everyday meals without needing advanced settings.
Why Liquid Is Non-Negotiable
Use this rule every time to avoid cooking issues
- Always add at least 1 cup of water, broth, or thin liquid
- Place liquid at the bottom before adding solid ingredients
- Keep thick sauces on top instead of mixing them in
- Avoid dry cooking conditions at all times
Following this structure helps prevent burning and ensures even pressure cooking.
Dump and Go Cooking for Easy Meals
A simple method can be followed for quick everyday meals
- Add rice, protein, vegetables, and seasoning directly into the pot
- Pour the required amount of liquid over the ingredients
- Close the lid and cook using the pressure setting
- Let the pressure release before opening and serving
This approach reduces effort and works well for busy schedules.

Understanding Pressure Release Without Confusion
There are two common release methods, and choosing the right one affects the final texture.
- Natural release allows pressure to drop gradually and works best for meat, rice, and lentils
- Quick release removes pressure immediately and suits vegetables or quick-cooking foods
If unsure, waiting a few minutes before releasing pressure helps balance results.
Cooking From Frozen Saves Time
Cooking directly from frozen ingredients is possible with small adjustments
- Increase cooking time slightly compared to fresh ingredients
- Ensure there is enough liquid to support pressure cooking
- Separate frozen pieces when possible for even cooking
This makes meal preparation easier when ingredients are not prepped in advance.
Batch Cooking for the Week
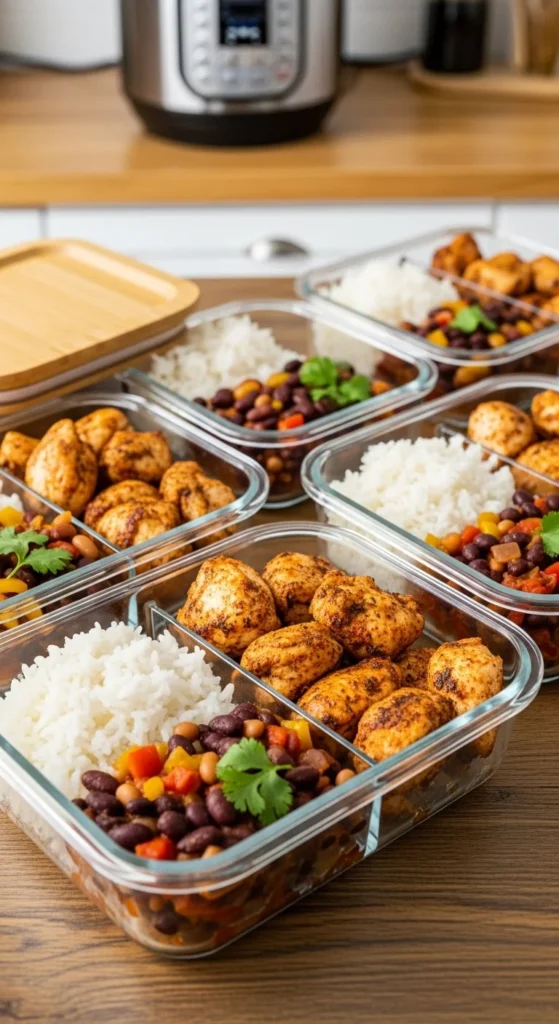
Preparing food in larger quantities reduces daily effort and saves time. Cooking once and reusing ingredients in different ways helps maintain variety without starting from scratch every day.
Day 1
Serve freshly cooked rice with chicken and vegetables for a complete and balanced meal. This is the most straightforward use of your batch cooking, where everything is warm, fresh, and requires no additional preparation.
Day 2
Use the cooked lentils as a base for a simple bowl by adding spices, yogurt, or any available toppings. This transforms the same batch into a different meal without repeating the same taste or texture.
Day 3
Take the leftover chicken and turn it into wraps or sandwiches by combining it with sauces or fresh vegetables. This helps reuse ingredients in a way that feels like a completely new dish rather than leftovers.
Common Problems and How to Fix Them
Small mistakes can affect results, but they are easy to correct once identified.
Food not cooking properly
This usually happens when pressure does not build correctly due to low liquid or improper sealing. Ensuring the lid is secured and enough liquid is added helps achieve proper cooking.
Food turning too watery
Excess liquid or skipping the finishing step can lead to thin results. Allowing the dish to simmer briefly after cooking helps reduce extra moisture.
Burn notice appearing
This occurs when ingredients stick to the base or thick sauces are added too early. Keeping liquid at the bottom and avoiding mixing heavy sauces prevents this issue.
Meals taking longer than expected
This is often due to ignoring pressure build and release times. Planning with the full cooking timeline avoids delays.
Food becoming overcooked
Overcooking happens when cooking time is too long or release is delayed. Adjusting timing and using the correct release method improves texture.
Final Thoughts
A consistent method matters more than complicated techniques. Repeating the same process builds confidence and improves results over time.
Once the basics are clear, cooking becomes easier to manage and fits naturally into everyday routines without extra effort.