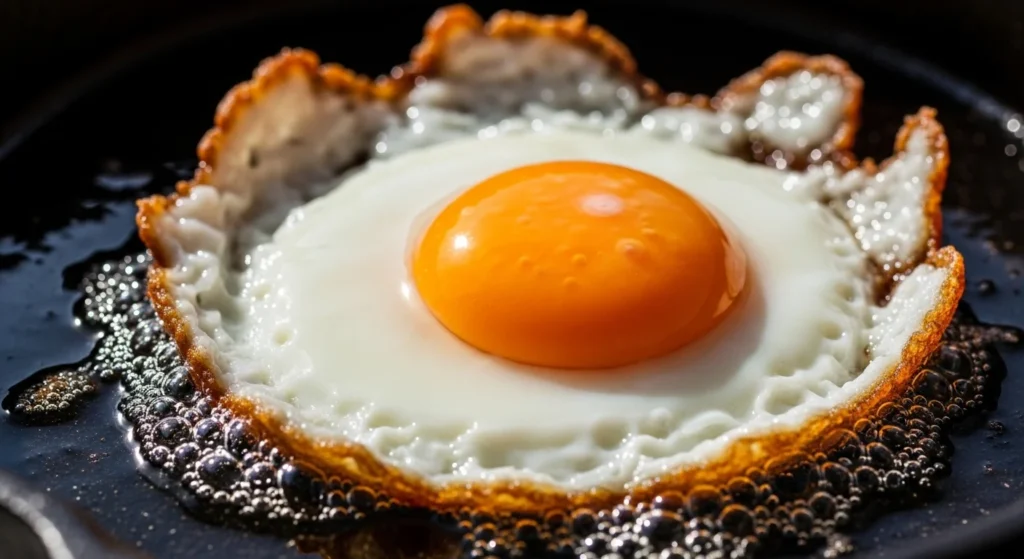
Getting crispy edges with a soft center is all about heat control, oil, and timing. The contrast between crunchy whites and a runny yolk comes from letting the egg cook undisturbed in properly heated oil. Once you understand this balance, it becomes repeatable every time.
Start With the Right Pan and Fat
The pan you use directly affects texture and ease
- Cast iron creates the best crispy edges because it holds heat well
- Nonstick works well for beginners and prevents sticking
- Avoid stainless steel unless you are very experienced
Oil matters just as much
- Use high smoke point oils like olive oil or avocado oil
- Use at least one tablespoon per egg for proper shallow frying
- Butter adds flavor but burns quickly on high heat

Heat the Oil Properly
Crispy edges only happen when the oil is hot enough before the egg goes in
- Heat on medium high until oil looks glossy and fluid
- The surface should shimmer, not smoke heavily
- Add the egg only after the oil is ready
Starting with cold oil leads to soft and flat edges instead of crispy ones
Add the Egg and Do Not Touch It
Let It Set Naturally. Once the egg is in the pan, leave it alone
- Do not move or flip immediately
- Let the whites spread and begin to bubble
- Edges will start turning golden on their own
This undisturbed cooking is what creates the signature crispy texture
Use the Basting Technique
Basting is what cooks the top without flipping
- Tilt the pan slightly to gather oil
- Spoon hot oil over the egg whites
- Focus on the uncooked areas near the yolk
This keeps the yolk soft while fully setting the whites
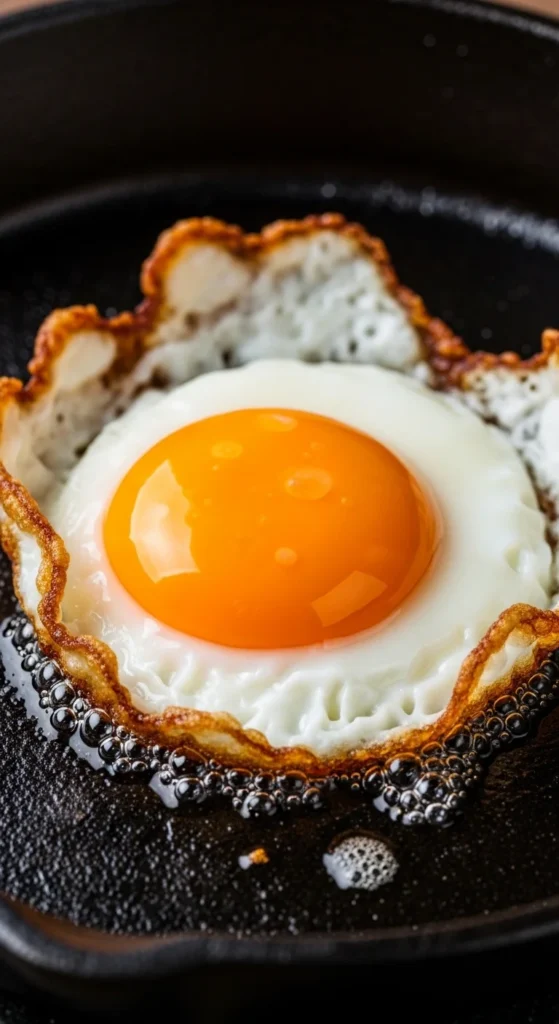
Control the Heat as It Cooks
Start high, then Adjust. Heat progression matters more than constant heat
- Begin on medium high for crisp edges
- Lower heat slightly once edges are golden
- Avoid very high heat that burns the bottom
This balance keeps the outside crispy and the inside soft
Know When It Is Done
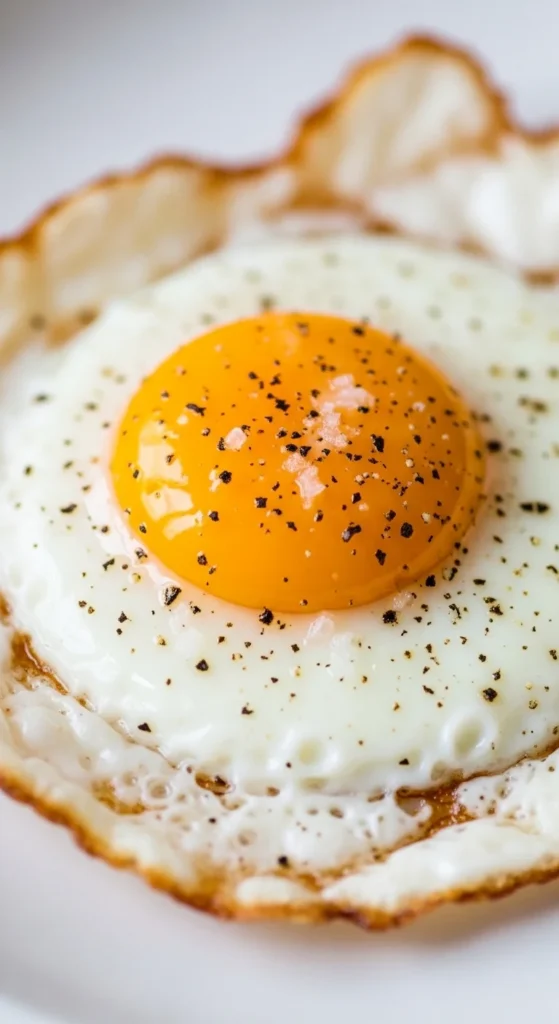
Timing for Perfect Texture
- Around 2 minutes gives crispy edges and runny yolk
- Whites should be fully set
- Yolk should still jiggle slightly when moved
If you prefer a firmer yolk, cook a little longer or cover the pan briefly
Small Techniques That Make a Big Difference
These details are what separate average results from perfect ones
- Use fresh eggs for better shape and thicker whites
- Tilt the pan to concentrate oil on edges for extra crisping
- Season during or right after cooking for best flavor
- Add toppings like chili crisp, herbs, or cheese after cooking
These small adjustments improve both texture and flavor
Common Problems and How to Fix Them
If your eggs are not turning out the way you expect, it usually comes down to a few small things that are easy to fix.
Eggs Sticking to the Pan
This usually happens when the pan or oil is not hot enough. Preheating properly and using enough oil prevents sticking and allows the egg to release naturally.
No Crispy Edges
Flat and soft edges come from low heat or not enough oil. Increasing heat at the start and using a proper amount of oil creates the bubbling effect needed for crispiness.
Burnt Bottom With Raw Top
High heat without control cooks the bottom too fast. Lowering the heat slightly and using the basting method cooks the top gently without burning the base.
Whites Spreading Too Much
This is often due to older eggs with thinner whites. Using fresh eggs helps maintain a compact shape and better texture.
Yolk Overcooking Too Quickly
Cooking too long or not adjusting heat leads to firm yolks. Shortening cook time and using basting instead of flipping keeps the center soft.
Final Thoughts
Once you understand heat, oil, and timing, frying eggs becomes simple and consistent. You stop guessing and start controlling the result.
It is one of those small techniques that instantly makes your food feel more intentional and well cooked.